 Deutsch
 Nederlands
 Español
 Français
 English English
Mozilla offers Thunderbird for e-mail and text Usenet newsgroups. Thunderbird is well designed and easy to use. The newsgroups reader functionality allows you to easily read and post to multiple discussion groups. The fact that it is open source and free is a big plus as well.
Visit the official Mozilla Thunderbird website (https://www.mozilla.org/en-US/thunderbird/) to download the installer file. After the installer has finished downloading open it and drag the Thunderbird icon into the Applications folder. Now launch Thunderbird to get started.

When Thunderbird first launches click on Newsgroups on the opening page.
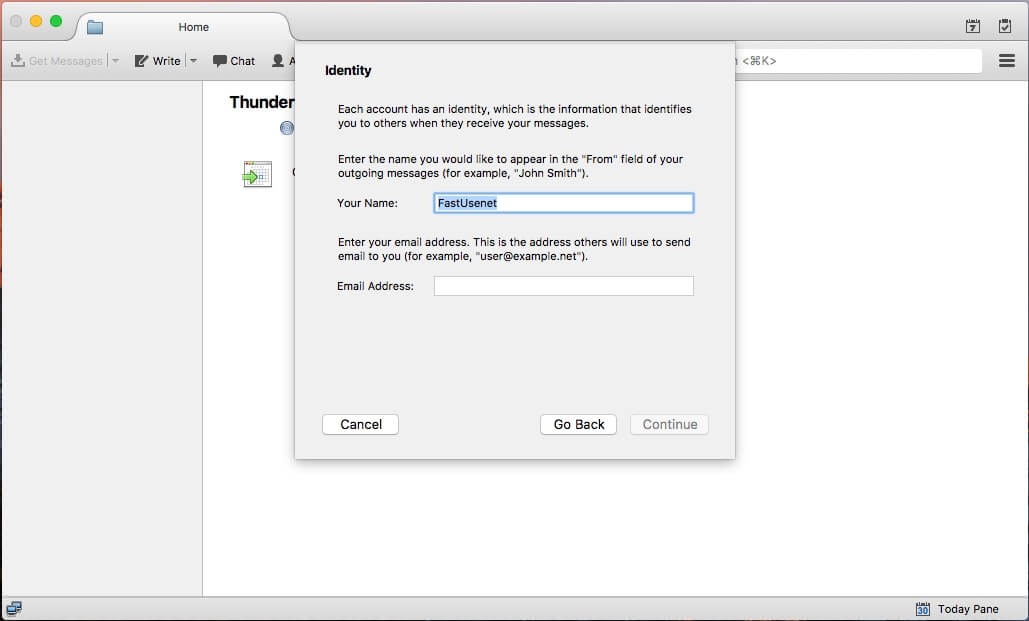
Now enter your name in the name field and email address in the email address field. Please note that this information will be shared on the newsgroups when posting. Click “Continue”.
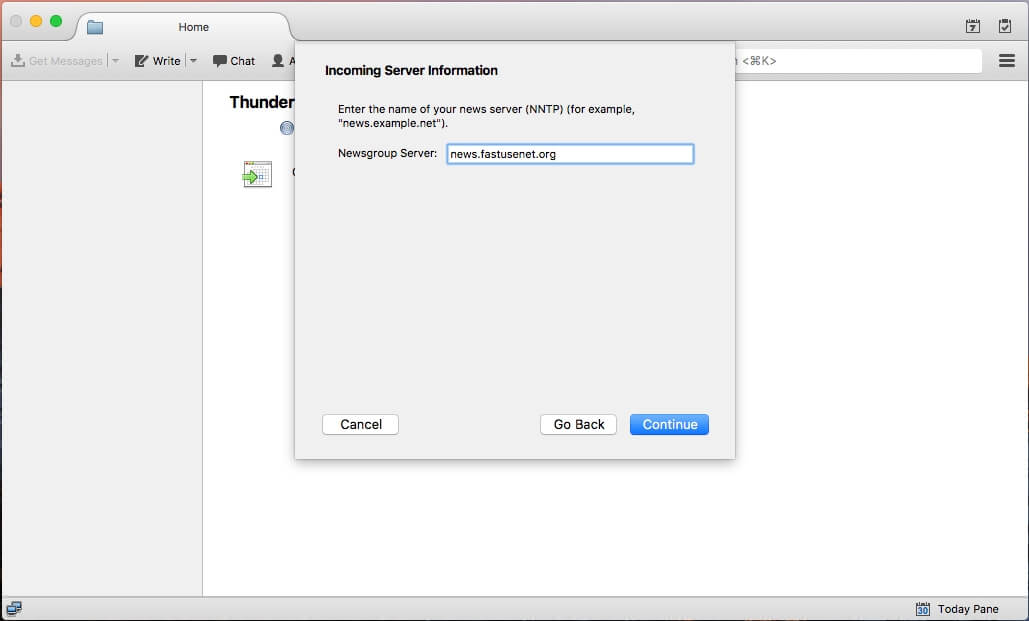
In the Newsgroup Server field enter the following: news.fastusenet.org and “Continue”.
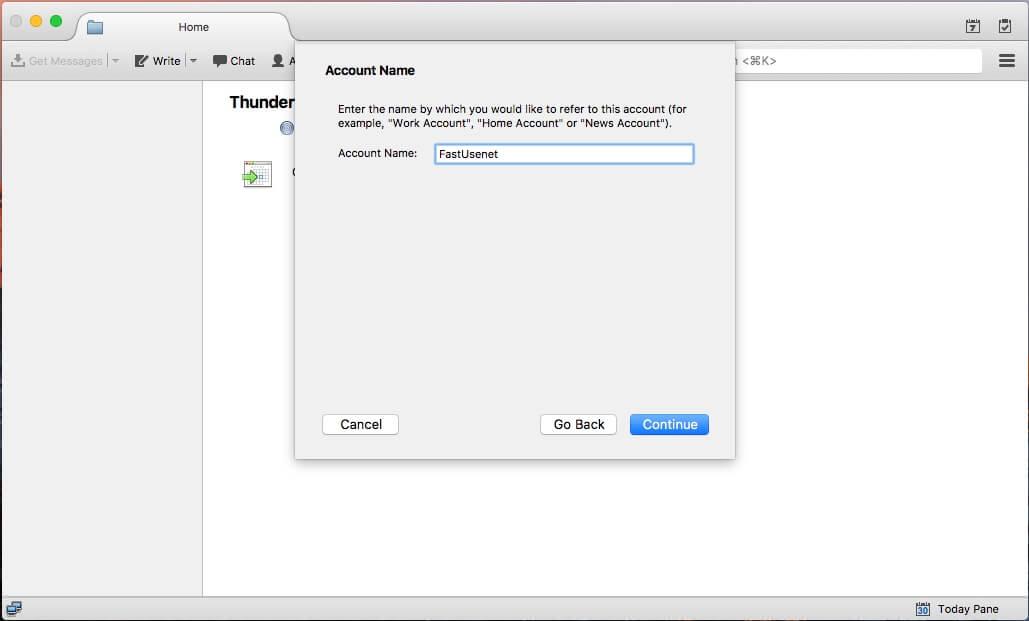
You can now give the newly created server configuration a nickname. Enter Fast Usenet here. Select “Continue”.
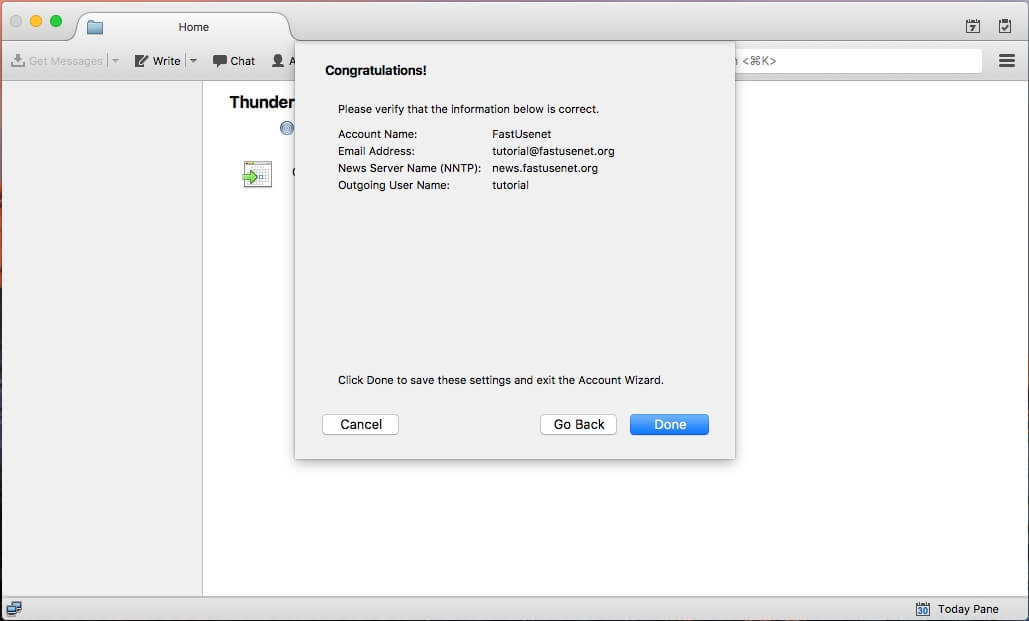
You can now verify your server settings. If everything looks correct click “Done”. If not you can “Go Back” to correct any mistakes.
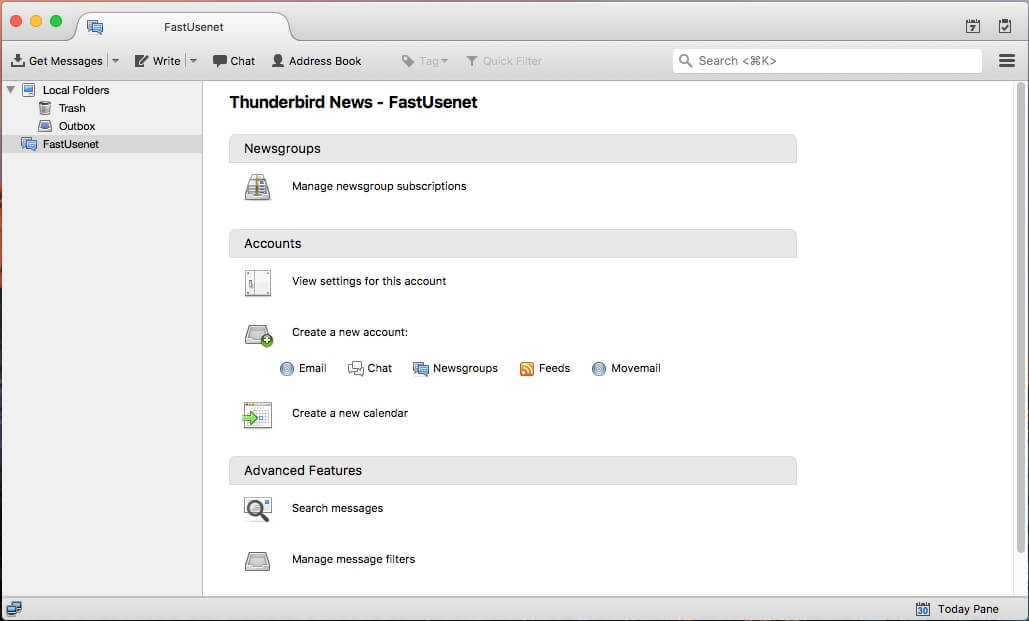
You should now see Fast Usenet listed in the left menu of Thunderbird, select it and choose “Manage newsgroup subscription”.
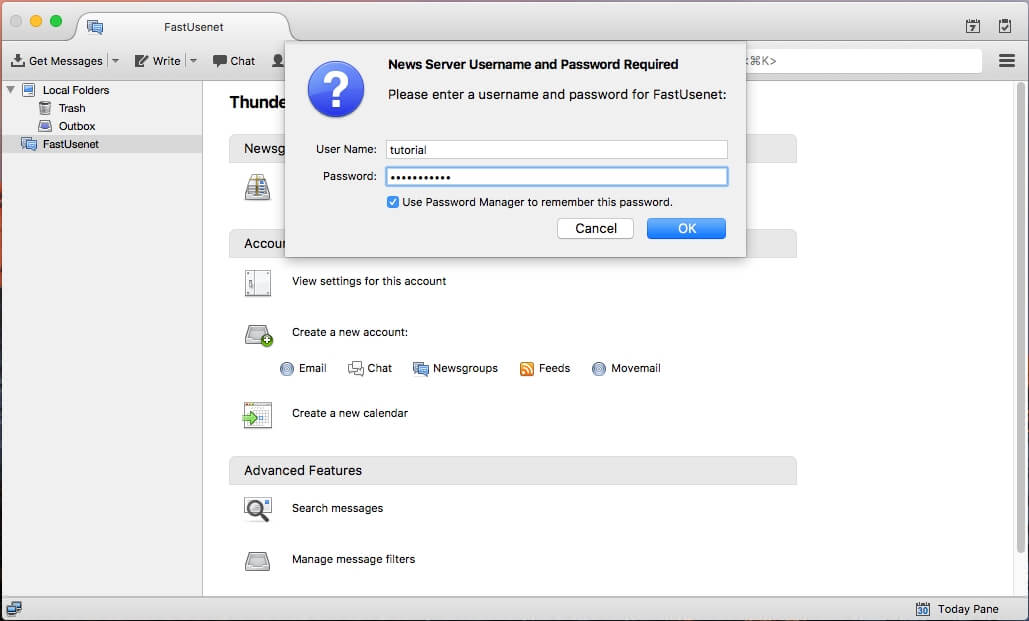
You will now be asked for your Fast Usenet username and password, enter it in the corresponding fields. If you’d like Thunderbird to remember your login information check the box labeled “Use Password Manager to remember this password”. Click “OK”.
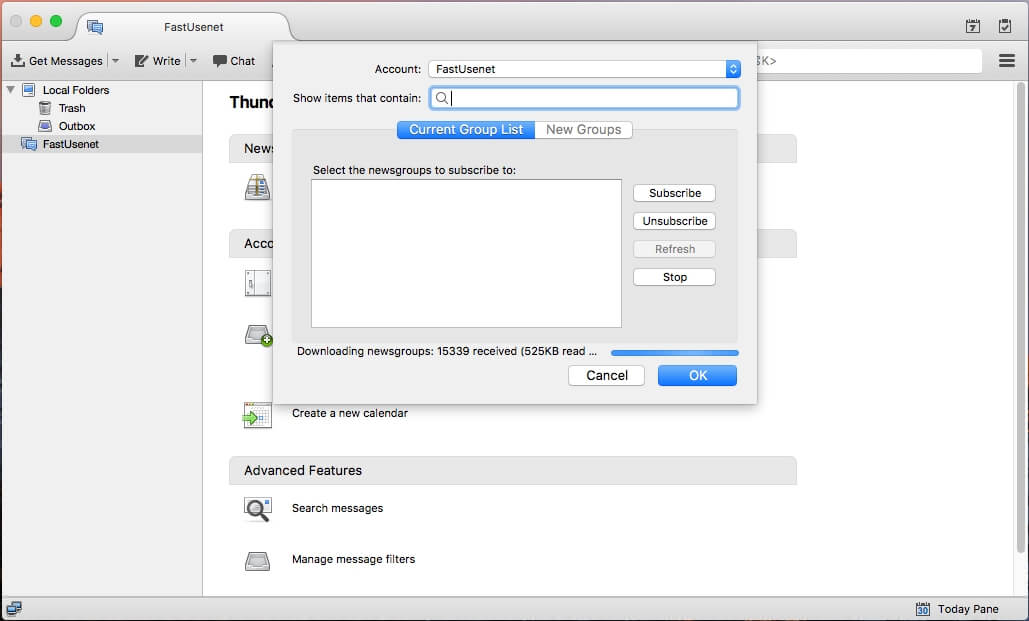
Thunderbird will now connect to our Usenet servers and download the latest newsgroup list. Once the list has completed move onto the next step.
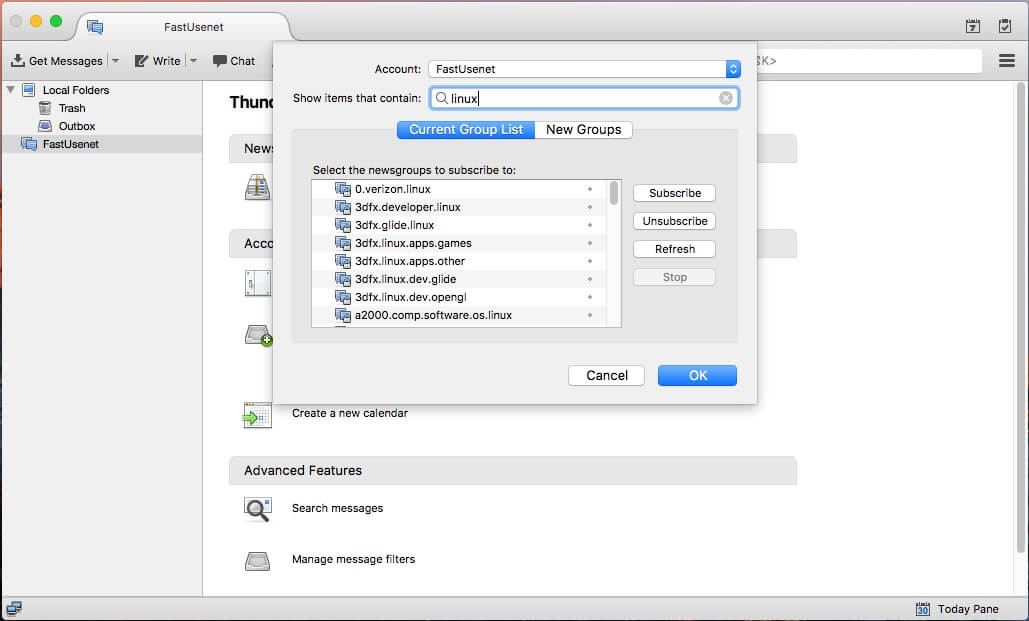
There should now be a list of newsgroups. Thunderbird has a filter feature that allows you to filter the newsgroup list to find a particular newsgroup. In this example, we are looking for newsgroups that contain the word “Linux”. We should now see a list of newsgroups that contain that word. To subscribe to a newsgroup simply double click it. A checkmark will be placed next to the group name indicating that you have subscribed. Click “OK” to continue.
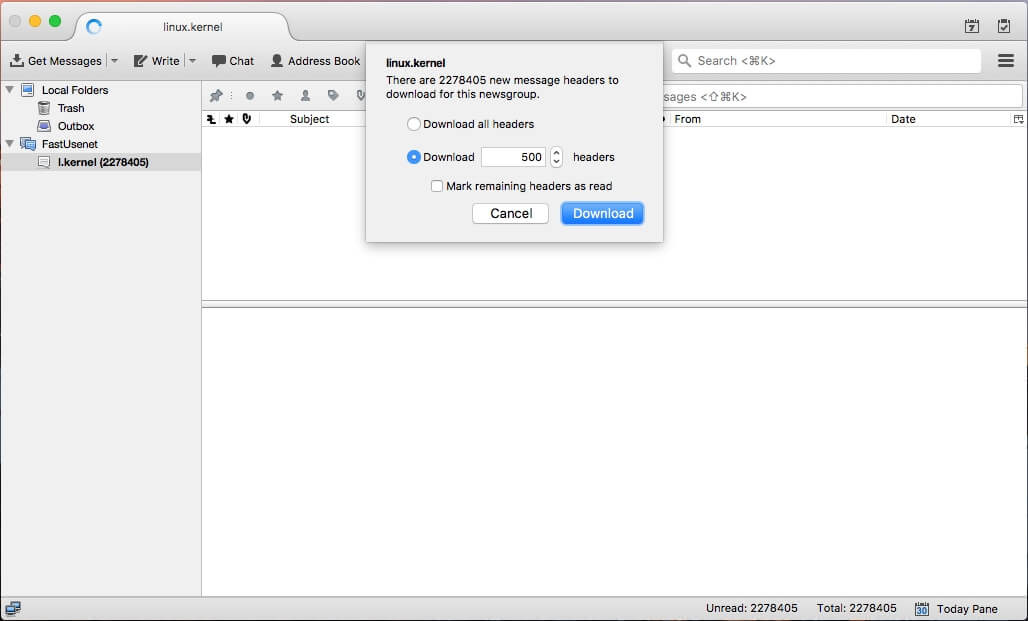
The name of the newsgroup will now appear in the left menu to Thunderbird under the Fast Usenet server name. When you select that newsgroup, Thunderbird will ask how many headers you would like to download. Enter the number you’d like to retrieve and click “Download”.
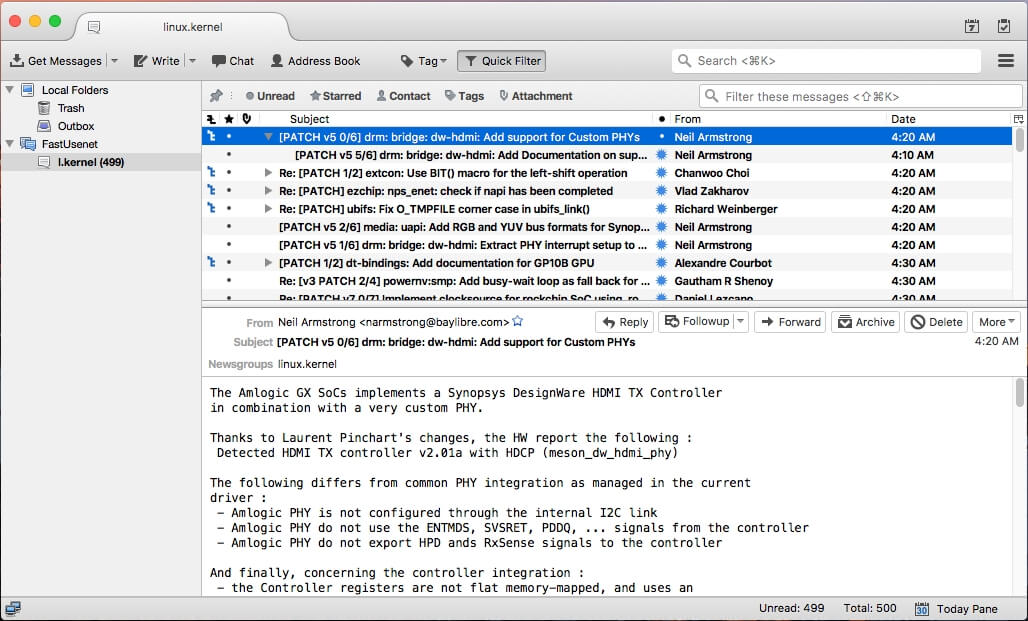
You should now see that downloaded messages appearing in the main window of Thunderbird. You can view and post messages from here. Please note that if you’d like to post to the newsgroups you must request posting privileges from support.