 Deutsch
 Nederlands
 Español
 Français
 English English
Newsbin Pro is a great Usenet newsreader that have been in development since 1995. It automatically combines complicated multi-part binary posts to create one file and includes many options for organizing your downloaded files.
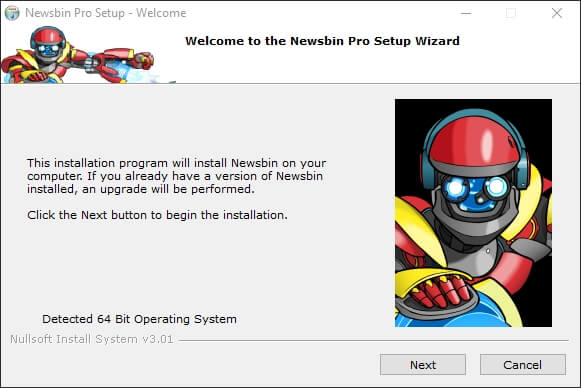
Visit the official Newsbin Pro website to download the setup file. http://www.newsbin.com/freetrial.php. After the file has downloaded, launch the setup process to continue.
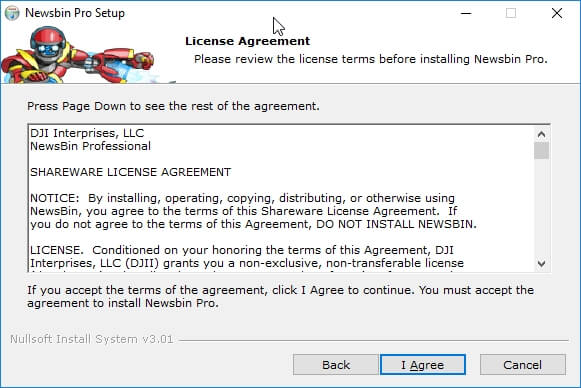
Read through the license agreement. If you agree with the term select “I Agree”.
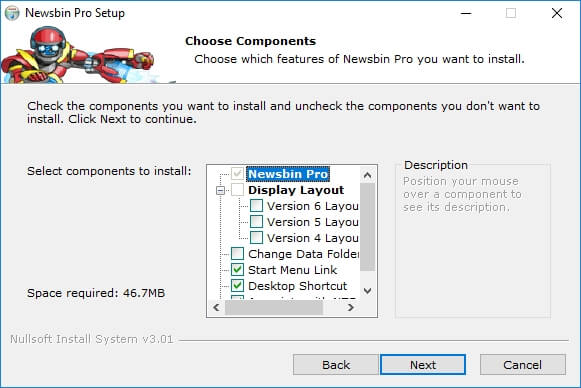
Choose the installation options here. If you are familiar with previous version of Newsbin Pro and prefer the older layouts you can change it here. Other familiar installation options can also be set here.
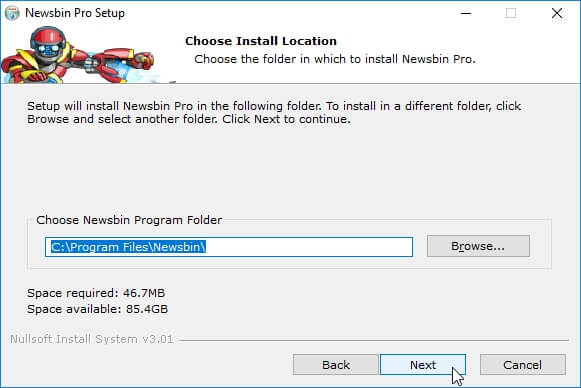
Here you can change your installation folder. The default folder is Program Files, Newsbin.
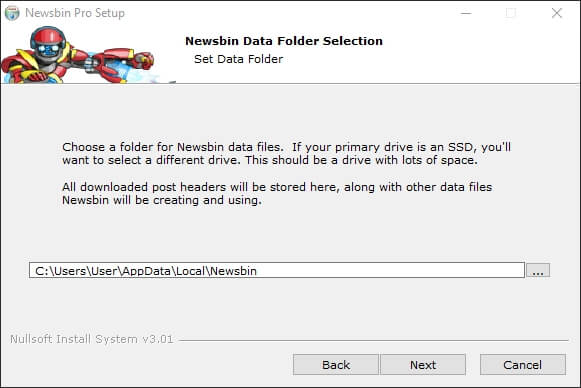
Now we need to set our data folder. As stated in the installer “All downloaded post headers will be stored here, along with other data files Newsbin will be creating and using”. If you are installing on an SSD and have an alternative drive with more storage you might want to use the larger drive. Click “Next” when ready.
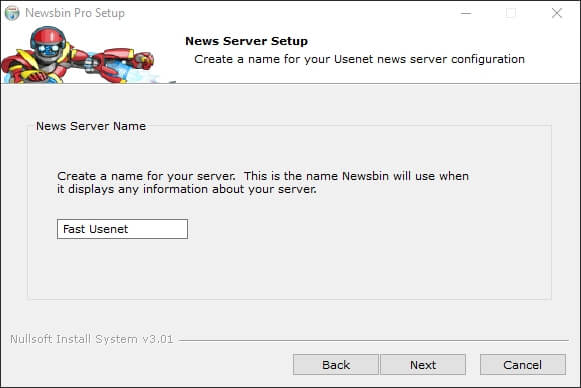
Time to setup up our Usenet server. Enter a name to reference the service you are setting up. In this tutorial, we are using “Fast Usenet”.
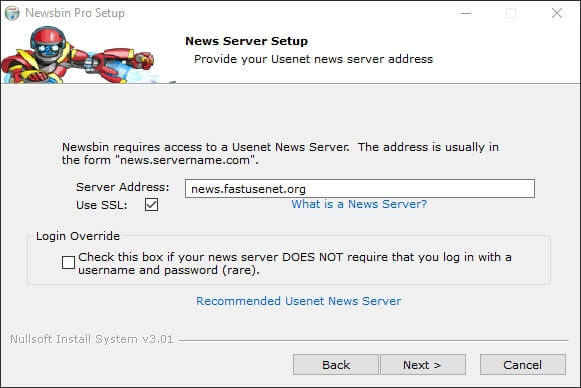
Enter news.fastusenet.org in the server address field. Tick the “Use SSL” box to utilize secure NNTP connections.
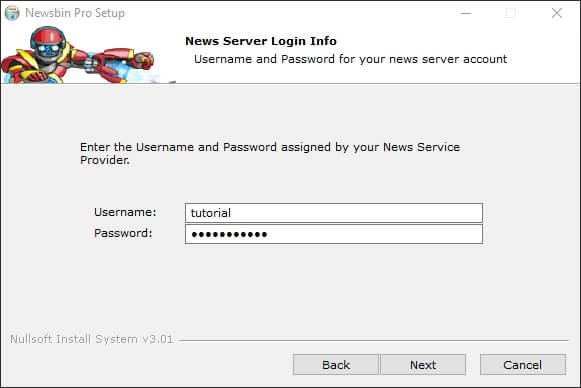
Now enter your Fast Usenet username and password.
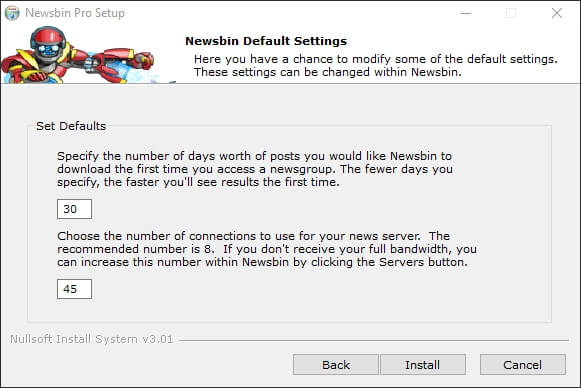
You can now set the amount of days you would like Newsbin Pro to grab when downloading headers from the newsgroups. We are going to leave the default of 30. Here you can also set the number of connections allowed. Fast Usenet supports 50 connections but it is usually best to set this number to 45.
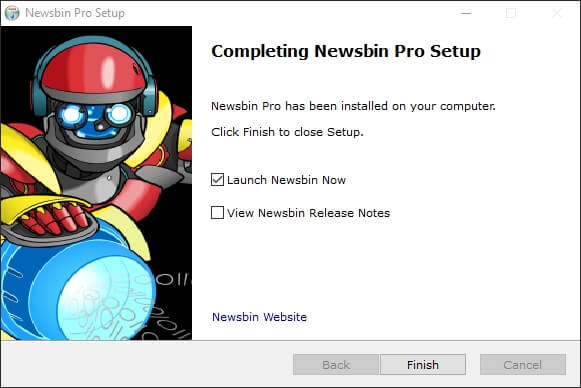
Congratulations, you have now finished with the Newsbin Pro setup. Tick the box labeled “Launch Newsbin Now”. Select Finish. Newsbin Pro should now open.
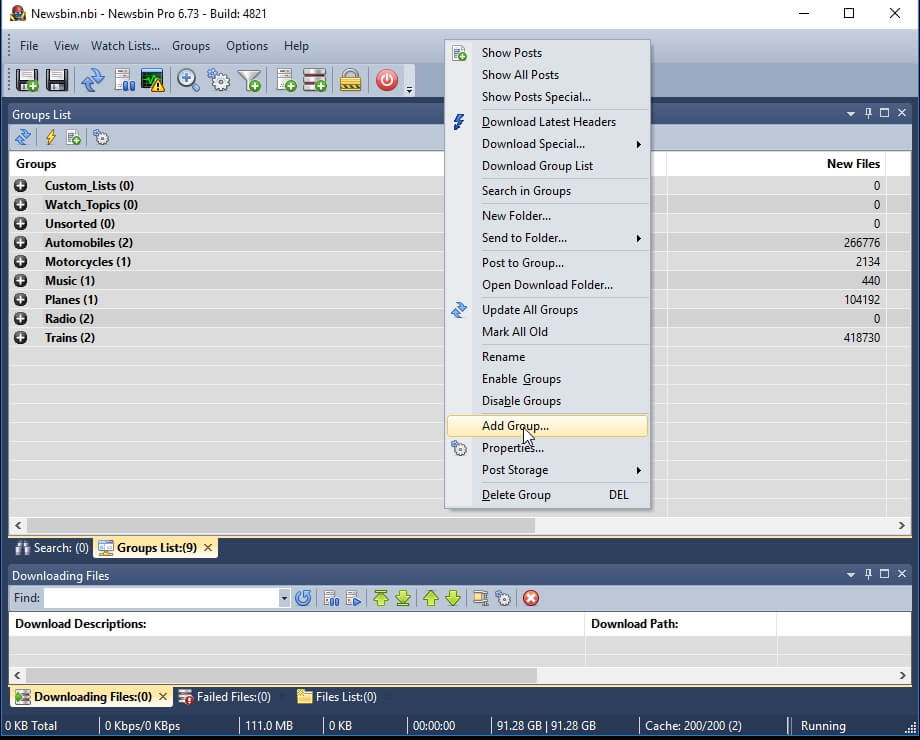
When Newsbin Pro opens up you should be presented with a screen similar to the image to the left. This is the “Groups List” window. Right click anywhere in the window and select “Add Group”.

When the “Add Groups” windows opens you can enter a search keyword in the search field to locate the newsgroup you are interested in. Once you locate the newsgroup select it and choose Ok.
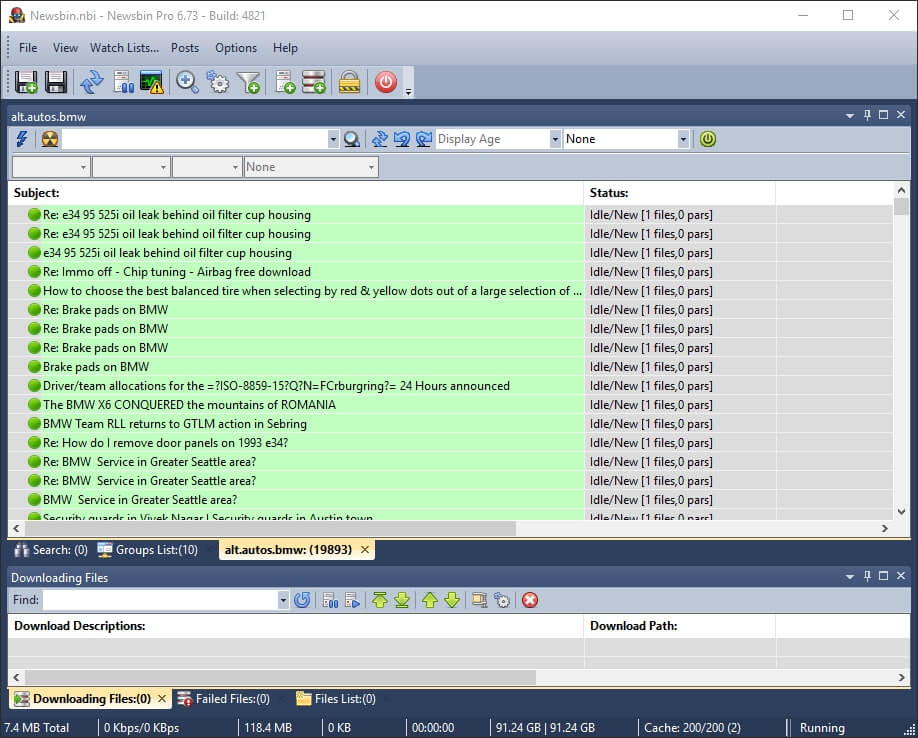
You should now see that newsgroup listed in the “Groups List” section. To download the articles for that group simply double click. A new window should open and Newsbin Pro should begin to download the latest articles.
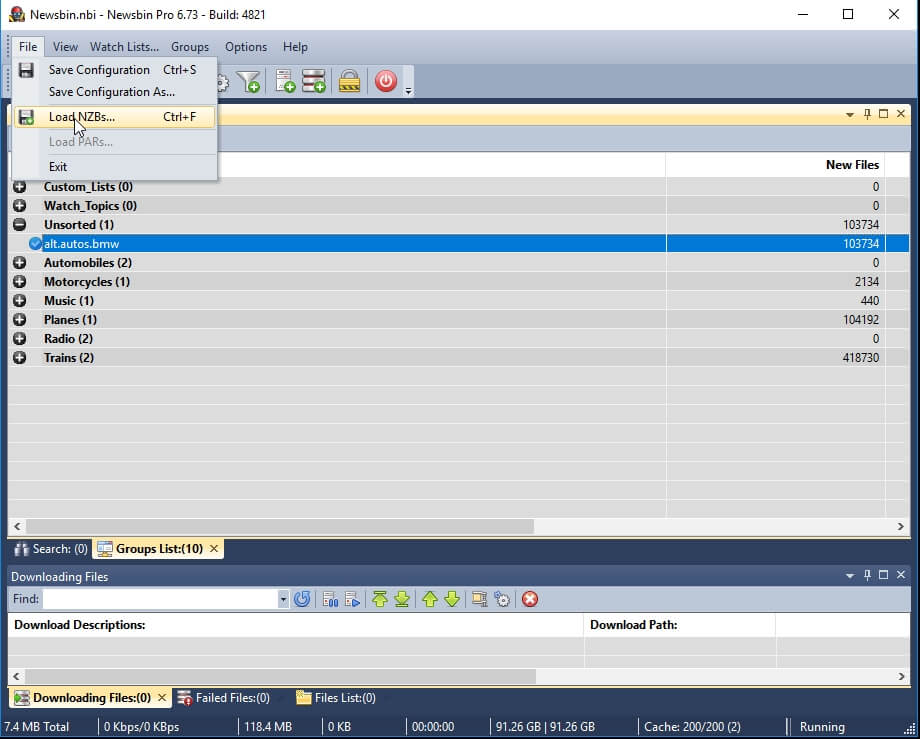
If you would like to load and NZB file into Newsbin simply click on “File”, “Load NZBs”.
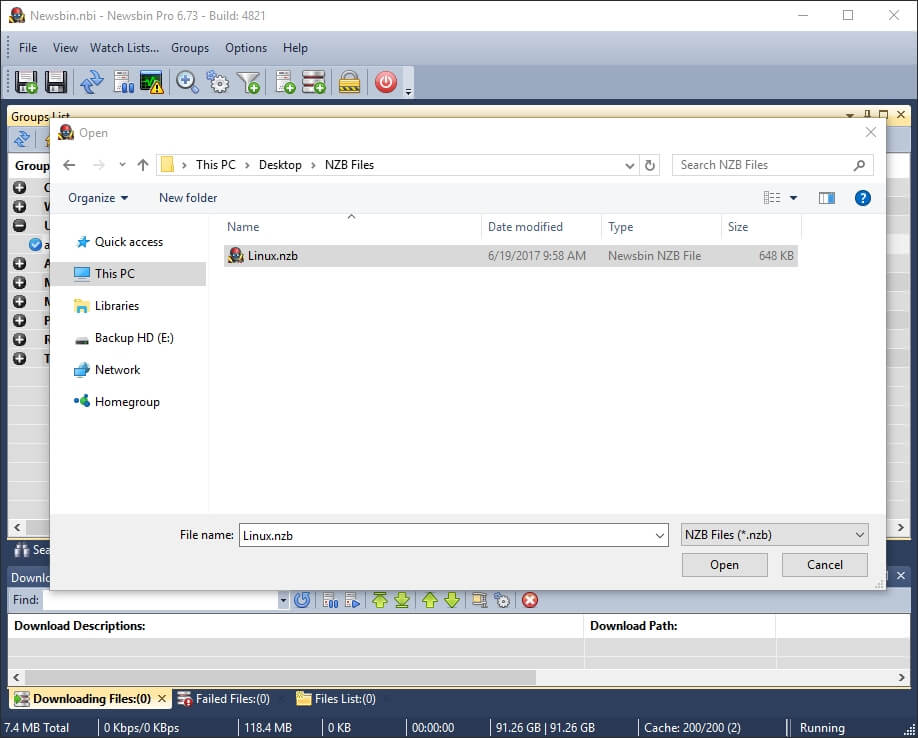
Now locate the NZB file on your computer. Once you have located the file select it and click “Open”. Newsbin Pro will no load the NZB file in the download queue and being download the articles from Usenet.